
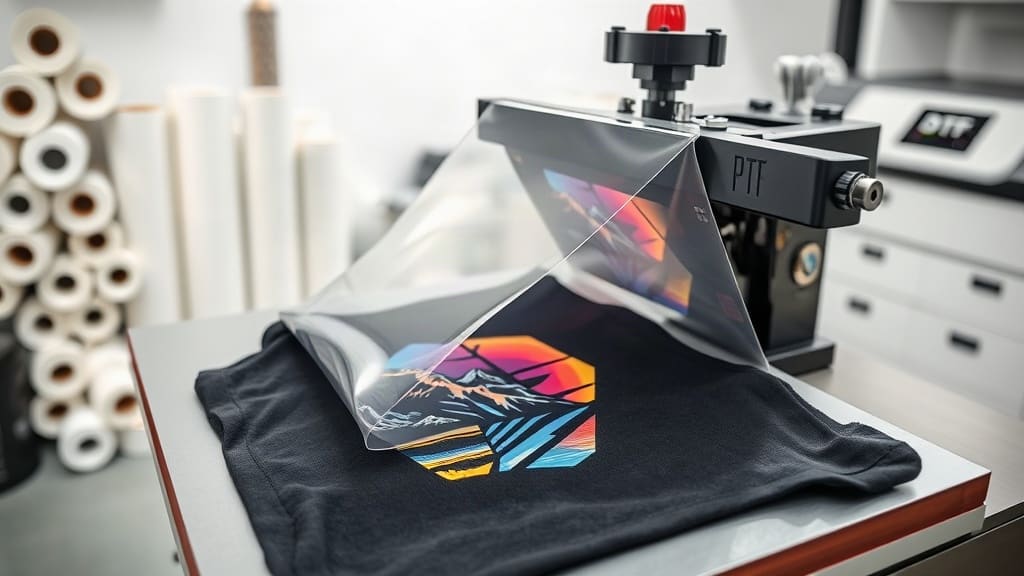
If you're in the custom apparel business or just starting out, you've likely heard about dtf transfers. This printing method has taken the industry by storm, offering a flexible and cost-effective way to create vibrant designs on a wide range of fabrics. But what exactly are they, and how do you get the best results? In this guide, I'll walk you through everything you need to know, based on my own experience using DTF transfers for my small business.
What Are DTF Transfers?
DTF stands for Direct to Film. It's a printing technique where you print your design onto a special PET film, apply adhesive powder, and then cure it. The result is a transfer that can be applied to fabric using a heat press. Unlike screen printing, there's no need for screens or setup, making it perfect for small runs and detailed designs.
I remember the first time I tried DTF transfers; I was amazed at how simple the process was. I had a complex logo with multiple colors, and it came out perfectly on the first try. That's one of the biggest advantages: the ability to reproduce intricate details and gradients without breaking a sweat.
The Process Step by Step
Understanding the process helps you appreciate the technology and troubleshoot issues. Here's how it works:
- Print the design: You use a DTF printer (often an inkjet printer with special DTF inks) to print the design in reverse onto a PET film.
- Apply adhesive powder: While the ink is still wet, you cover the design with a hot-melt adhesive powder. This powder sticks to the ink.
- Cure the powder: You heat the film to melt the powder, which fuses with the ink and creates a tacky layer.
- Press onto fabric: Place the transfer on your garment (film side up) and press it with a heat press at around 160°C (320°F) for 15-20 seconds.
- Peel: After pressing, you peel off the film while it's still warm or after cooling, depending on the type of transfer.
This process might sound technical, but with a little practice, it becomes second nature.
Why Choose DTF Transfers?
There are several reasons why DTF transfers have become a go-to for many print shops and home businesses:
- Versatility: You can apply DTF transfers to a variety of fabrics, including cotton, polyester, blends, and even some hard surfaces like wood and glass.
- Durability: The prints are stretchable and resistant to cracking, making them ideal for activewear.
- No weeding: Unlike vinyl, there's no need to weed out excess material. The entire film is transferred, so you get a crisp edge.
- Small quantities: You can print just one or a hundred without significant setup costs.
- Full color: You can achieve photorealistic prints with gradients and shading.
I've used both screen printing and DTF, and for small custom orders, DTF is a game changer. The ability to print a single shirt with a full-color design at a reasonable cost has opened up new revenue streams for my business.
Materials You Need for DTF Transfers
To get started with DTF transfers, you'll need some essential supplies:
- DTF printer: This is an inkjet printer that's compatible with DTF inks. You can convert certain Epson printers or buy a dedicated DTF printer.
- PET film: This is the carrier film that you print on. It comes in rolls or sheets.
- DTF ink: Typically CMYK plus white ink. The white ink is crucial for printing on dark fabrics.
- Adhesive powder: This is a hot-melt powder that makes the transfer stick to the fabric.
- Heat press: A clamshell or swing-away heat press works best.
- Shake and dry oven (optional): For curing the powder evenly, some use a special oven, but a heat press can also work.
When I first started, I invested in a decent DTF printer and used a heat press to cure the powder. It took a few trials to get the right temperature and time, but once I dialed it in, the results were consistent.
Tips for Getting the Best Results
Over the years, I've learned a few tricks that can make a huge difference in the quality of your DTF transfers:
Design Preparation
Make sure your design is in high resolution (at least 300 DPI). If you're printing on dark fabrics, you'll need to include a white underbase in your design, which the printer will lay down first. Also, remember to mirror your design because you're printing in reverse.
Printing and Powder Application
Use the correct color profile for your printer to ensure accurate colors. When applying the adhesive powder, make sure it's evenly distributed and covers all the ink. Excess powder can cause a rough feel, while too little can result in poor adhesion.
Pressing
For best results, pre-press your garment for a few seconds to remove moisture and wrinkles. Then position your transfer and press with firm pressure. The ideal temperature and time vary, but a good starting point is 160°C (320°F) for 20 seconds. After pressing, peel the film while it's still warm for a matte finish or after cooling for a glossy look.
Care Instructions
Advise your customers to wash garments inside out in cold water and avoid using bleach. This extends the life of the print, keeping it vibrant wash after wash.
Common Mistakes to Avoid
Even experienced printers can make mistakes. Here are some pitfalls to watch out for:
- Using the wrong film: Not all PET films are created equal. Some are designed for different ink types. Always use film that's compatible with your DTF ink.
- Skipping the white ink test: White ink can be finicky. Always do a test print to ensure the white is opaque enough for dark garments.
- Overheating: Too much heat can scorch the fabric or cause the adhesive to become brittle. Follow the recommended settings.
- Peeling too early: If you peel the film too soon, you might pull off some of the design. Wait for the right time.
I once peeled a transfer too early and ended up with a half-printed shirt. Since then, I always set a timer and give it a few extra seconds to be safe.
DTF Transfers vs. Other Printing Methods
It's helpful to compare DTF with other popular methods:
| Method | Pros | Cons |
|---|---|---|
| Screen Printing | High durability for large runs, low cost per unit | High setup cost, not ideal for small orders or complex colors |
| Vinyl Cut | Simple, good for single-color designs | Limited colors, requires weeding, not great for detailed designs |
| DTF Transfers | Full color, no weeding, versatile, quick turnaround | Requires specialized equipment, may have a learning curve |
As you can see, DTF offers a sweet spot for small to medium orders with complex artwork.
Where to Use DTF Transfers
The possibilities are endless. I've used DTF transfers for:
- T-shirts and hoodies
- Tote bags
- Caps
- Pillow covers
- Workwear and uniforms
Because the transfers are so durable, they're perfect for items that see a lot of wear.
Cost-Effectiveness of DTF Transfers
One of the biggest questions I get is about cost. While the initial investment in a DTF printer can be significant, the per-unit cost is quite competitive for short runs. There's no screen setup, and you can print on demand, which reduces inventory waste.
For example, a single full-color design on a cotton t-shirt might cost you around $2-3 in materials. If you're selling the shirt for $20, that's a healthy margin.
How to Scale Your Business with DTF Transfers
Once you've mastered the basics, you can expand your offerings. Consider offering DTF transfer services to other businesses. Many local brands need small runs of custom apparel but don't want to invest in equipment. You can become their go-to supplier.
I started by making shirts for my own brand, but soon other small businesses asked if I could print for them. Now, that side of my business brings in steady income.
Conclusion
DTF transfers have truly revolutionized the custom apparel industry. They offer a perfect blend of quality, versatility, and affordability, making them a smart choice for both hobbyists and professionals. Whether you're printing a single shirt for a friend or planning to scale a business, DTF technology empowers you to bring your creative visions to life with ease.
If you're ready to dive in, start with a small setup and experiment. With practice, you'll be producing stunning prints that wow your customers.
Frequently Asked Questions
Can DTF transfers be used on any fabric?
Yes, DTF transfers work on a wide range of fabrics, including cotton, polyester, blends, and even materials like nylon and leather. However, for very stretchy or delicate fabrics, you might need to adjust the pressing time and temperature to avoid damage.
How long do DTF transfers last?
With proper care, DTF transfers can last as long as the garment itself. They are resistant to cracking, peeling, and fading. Washing inside out in cold water and avoiding high heat drying will extend the life of the print.
Do DTF transfers require a special printer?
Yes, you need a printer that's compatible with DTF inks, typically an inkjet printer that can handle pigment inks, especially white ink. Many people convert Epson EcoTank printers for DTF use, but there are also dedicated DTF printers available on the market.
Can I use DTF transfers on dark-colored shirts?
Absolutely. In fact, DTF is excellent for dark fabrics because you can print a white underbase. This ensures that your design colors pop and remain vibrant.
What is the difference between DTF and DTG printing?
DTG (Direct to Garment) prints directly onto the fabric, while DTF prints onto a film that is then transferred. DTF is more versatile because you can print on various materials and pre-print in bulk, while DTG is limited to cotton-based fabrics and requires the garment to be placed in the printer.