
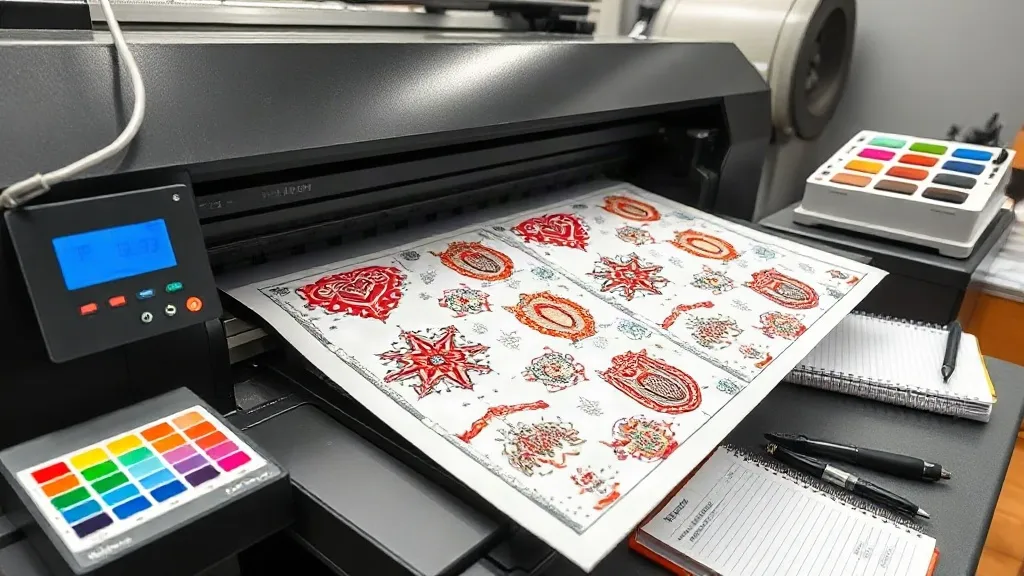
You've invested in a reliable DTF printer, quality film, and premium powder. Your designs look sharp on screen. Yet somehow, prints come out with banding, colors that don't match, or transfers that crack after a few washes. The culprit often isn't the equipment — it's how you build your DTF Gangsheet. After helping dozens of shops troubleshoot their workflow, I've noticed five mistakes that consistently drain time and money. Let's break them down and fix them.
Mistake 1: Ignoring Image Resolution and Scaling
Low-resolution images are a silent profit killer. When you upscale a 72 DPI web image to print size, the result is pixelated edges and blurry details. Always start with at least 300 DPI at the final print dimensions. For vector files, rasterize at 300 DPI before placing them on the sheet. And never scale up more than 120% in your layout software — re-export from the original source instead. A quick check: zoom to 100% in your RIP software; if edges look soft, the print will too.
Mistake 2: Skipping Color Management
Colors that look vibrant on your monitor can turn dull or shifted on film. This happens because your design software and printer use different color spaces. Always work in CMYK for DTF, and use ICC profiles provided by your film or ink manufacturer. If you don't have one, create a custom profile with a spectrophotometer. Also, calibrate your monitor regularly — a cheap calibrator pays for itself in avoided reprints. Remember: what you see is not always what you get unless you manage color end-to-end.
Mistake 3: Poor Nesting and Spacing
Nesting is more than arranging images to fit. Leave at least 0.25 inches (6 mm) between designs to prevent ink bleeding and ensure clean cutting. Group similar sizes together to maximize film usage, but avoid rotating images unless necessary — rotation can cause slight color shifts due to print head direction. Use nesting software that respects spacing and grain direction. A well-nested sheet can reduce film waste by up to 30%, directly boosting your bottom line.
Mistake 4: Neglecting Film and Powder Compatibility
Not all films work with all powders. Using a cheap film with a premium powder can lead to poor adhesion or excess powder retention. Always test combinations: print a small batch, powder, cure, and wash test. Check that the powder melts evenly and doesn't leave a gritty texture. Also, store film in a cool, dry place — humidity affects coating performance. If you switch suppliers, re-test your settings; what worked before may not work now.
Mistake 5: Overlooking Maintenance and Environment
Your printer's environment and maintenance schedule directly impact gangsheet quality. Dust, humidity, and temperature fluctuations cause banding and misprints. Keep your printer in a clean, climate-controlled room (ideally 68–75°F / 20–24°C and 40–60% humidity). Perform daily nozzle checks and weekly cleanings. Replace wiper blades and capping stations on schedule. A dirty encoder strip can cause horizontal banding that no amount of color tweaking will fix. Treat maintenance as part of production, not an afterthought.
Frequently Asked Questions
How often should I calibrate my DTF printer for consistent gangsheet output?
Calibrate color profiles monthly or whenever you change ink batches, film brands, or major environmental conditions. Nozzle checks should be daily. Full maintenance (cleaning, lubrication) weekly. Keep a log to spot trends.
Can I use the same gangsheet layout for different fabric colors?
Yes, but adjust your white ink layer. Dark fabrics require a thicker white base for opacity. If you're printing on both light and dark garments, create separate gangsheets with appropriate white settings to avoid dull colors or excess ink use.
What's the best way to store unused gangsheets?
Store them flat in a dust-free, dry environment away from direct sunlight. Avoid rolling them tightly, which can cause curling. Use interleaving paper if stacking. Proper storage prevents powder contamination and extends shelf life.
Why do my transfers crack after washing even though I followed the instructions?
Cracking usually stems from under-curing or insufficient pressure during application. Check your powder melting temperature and time, and ensure your heat press applies even pressure (40–60 PSI). Also, verify that the garment is properly pre-pressed to remove moisture.
How can I reduce film waste without compromising quality?
Use nesting software with optimization algorithms, group orders by design size, and consider a roll-to-roll system for high volume. Regularly review your layout to identify gaps. Even small adjustments like rotating images strategically can yield significant savings.