
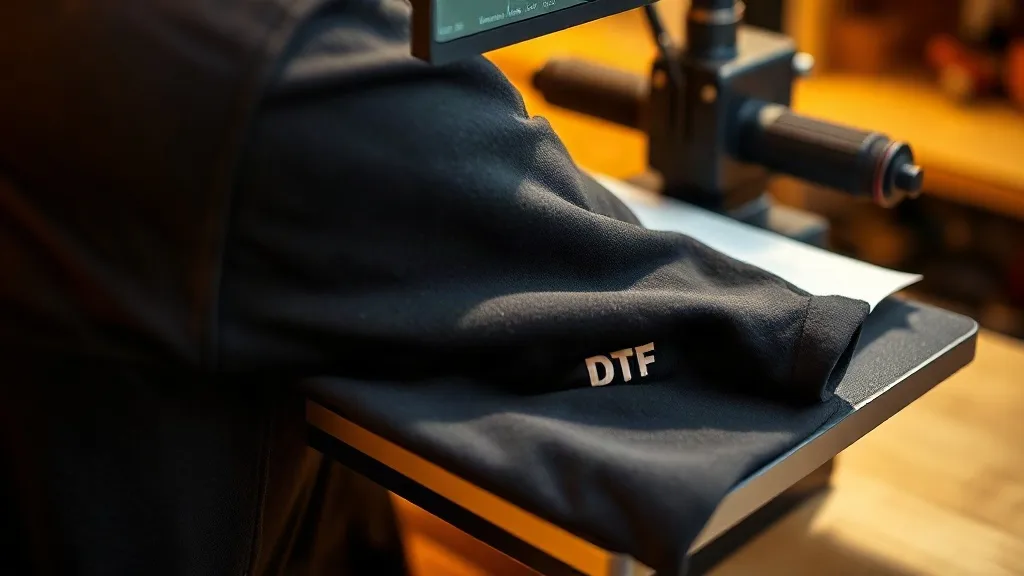
You've mastered the front chest print. Your DTF transfers look sharp, wash well, and customers are happy. Then an order comes in for sleeve prints, and suddenly everything feels new again. The sleeve is curved, narrow, and moves in ways a flat chest never does. Hems are even trickier: seams, folds, and stretch all conspire against a clean press. But with the right approach, these placements can become a signature part of your work, not a headache.
This guide is about the practical side of placing dtf transfers on sleeves, hems, and other non-standard areas. We'll cover how to prepare the garment, align the design, press it without shifting, and make sure the print survives real wear. Whether you're printing a small logo on a cuff or a long strip down a sleeve, these steps will help you get consistent, professional results.
Why Sleeve and Hem Prints Are Different
Most DTF tutorials focus on the front or back of a shirt: a large, flat area where you can lay the transfer down, press, and peel without much fuss. Sleeves and hems break that pattern. The fabric is often tubular, with seams that create ridges and valleys. When you press, the heat and pressure need to reach every part of the design evenly, but the curve means some areas get more pressure than others. If you're not careful, you end up with partial adhesion, wrinkles, or a print that peels after the first wash.
Hems add another layer of complexity. The folded edge creates a double thickness of fabric, and the seam allowance can create a bump. Pressing across that bump can cause the transfer to crack or fail to bond. And because hems are often at the bottom of a garment, they take extra abuse during washing and wearing. So the stakes are higher: a poorly applied hem print will show its flaws quickly.
The good news is that dtf is flexible and forgiving if you adjust your technique. Unlike screen printing, DTF doesn't require tension or a flat surface to the same degree. The adhesive powder and film can conform to curves, provided you manage heat and pressure properly. The key is to think in three dimensions, not two.
Preparing the Garment for a Curved Press
Before you even think about placing the transfer, the garment needs to be prepped. For sleeves, turn the sleeve inside out or slide it over a pressing pad or sleeve board. This gives you a stable, slightly curved surface that mimics the shape of the sleeve. If you don't have a sleeve board, a rolled-up towel inside the sleeve can work in a pinch, but a dedicated pressing pad is more reliable. The goal is to eliminate any wrinkles and provide a firm backing so the transfer can be pressed evenly.
For hems, you'll need to decide whether to print over the seam or avoid it. Printing over the seam is possible, but it requires extra care. The seam creates a high spot, and the transfer may not adhere properly on the slope. One approach is to build up the area with a heat-resistant pad underneath, so the seam is supported and the pressure is distributed. Another is to place the design slightly above the hem line, avoiding the thickest part altogether. If the design must cross the seam, use a smaller, simpler graphic that can tolerate slight distortion.
Always pre-press the garment for a few seconds to remove moisture and relax the fibers. This step is especially important for cotton and blends, which can shrink slightly when heated. Pre-pressing also gives you a flat, dry surface for the transfer to bond to.
Aligning the Transfer on Sleeves and Hems
Alignment is where many operators struggle. On a sleeve, the natural curve means the design can look straight when the sleeve is flat but twisted when worn. To avoid this, put the garment on a mannequin or a flat surface in the way it will be worn. Mark the center of the sleeve with a fabric marker or a piece of tape. Then, align the transfer to that center line, checking from multiple angles. A small laser guide or a ruler can help, but sometimes the eye is the best judge.
For hems, decide on the distance from the edge. A common choice is 1 to 2 inches above the hem line, but it depends on the design and the garment style. Use a hem gauge or a piece of cardstock as a spacer to keep the distance consistent across multiple pieces. If you're printing a long strip along the hem, make sure the transfer is straight and doesn't wave. You can tack the transfer in place with a small piece of heat-resistant tape to prevent shifting during pressing.
Remember that dtf transfers near me searches often lead customers to local shops that offer quick turnaround, so your ability to handle these placements accurately can set you apart. Take the extra minute to align properly; it saves rework later.
Pressing Technique for Curved Areas
When pressing a sleeve, you need a heat press that can accommodate the shape. A clamshell press with a sleeve attachment or a swing-away press with a movable platen works well. If you're using a standard flat press, you can still press sleeves by using a pressing pad and rotating the sleeve as you go. The key is to apply pressure in sections rather than trying to press the entire sleeve at once. Start at the center of the design and work outward, allowing the film to conform to the curve.
Temperature and time should be adjusted slightly. Because the sleeve is a smaller area, it may heat up faster. Use a slightly lower temperature (around 280-300°F) and a shorter dwell time (8-10 seconds) to avoid over-pressing. Pressure should be firm but not excessive; too much pressure can cause the transfer to squeeze out and distort. For hems, you may need to increase pressure slightly to ensure the transfer adheres over the seam, but be careful not to crush the fabric.
After pressing, peel the film while it's still warm (cold peel is also an option depending on the film type, but warm peel is more forgiving on curves). Peel slowly and at a low angle to avoid stretching the design. If you notice any areas that didn't adhere, cover with parchment paper and press again for a few seconds.
Ensuring Durability on High-Stress Areas
Sleeves and hems endure more friction and stretching than the chest. To improve durability, consider using a slightly thicker transfer film or adding a second press cycle. After the initial press and peel, cover the design with parchment paper and press again for 5-10 seconds. This post-press helps the adhesive fully cure and bond with the fibers. Also, make sure the garment is completely cool before folding or packaging; rushing this step can cause the print to wrinkle or peel.
Wash testing is your best friend. Before offering sleeve prints to customers, run a few samples through a home wash cycle (inside out, cold water) and check for adhesion. If you see lifting, adjust your pressing parameters or try a different film. Keeping a log of your settings for different fabrics and placements will help you replicate success.
Common Pitfalls and How to Avoid Them
Even experienced operators run into issues with curved placements. Here are a few common problems and their fixes:
- Transfer shifts during pressing: Use heat-resistant tape to secure the transfer, and press in sections.
- Wrinkles in the film: Pre-press the garment thoroughly and use a pressing pad to smooth the surface.
- Partial adhesion on seams: Build up the area with a pad, increase pressure slightly, and extend dwell time by 2-3 seconds.
- Print cracks after washing: Ensure proper post-pressing and consider a more flexible film for stretchy fabrics.
Each of these issues has a root cause in either preparation or pressing. By addressing them systematically, you'll reduce waste and improve consistency.
Frequently Asked Questions
Can I use a standard heat press for sleeve prints?
Yes, but you'll need a sleeve board or pressing pad to create a stable surface. Rotate the sleeve as you press to cover the entire design evenly. A swing-away press with a movable platen makes it easier.
How do I prevent the transfer from sticking to the upper platen when pressing a sleeve?
Use a piece of parchment paper or a Teflon sheet between the transfer and the upper platen. This protects the platen and prevents any adhesive from transferring.
What's the best way to align a design on a hem that has a curve?
Place the garment on a flat surface and use a hem gauge to mark the distance from the edge. Align the transfer to the center and check from the front and side. Tacking with tape helps hold it in place.
How long should I press a DTF transfer on a sleeve?
Start with 8-10 seconds at 280-300°F, with medium-firm pressure. Adjust based on the fabric and film type. Always do a peel test on a sample first.
Can I print on both sleeves and have them match perfectly?
Yes, but you need to be consistent. Use a template or jig to position each sleeve identically. Mark the center line on both sleeves and align the transfers accordingly.
With practice, sleeve and hem prints become just another part of your repertoire. They add perceived value and can help you stand out in a crowded market. Take the time to dial in your process, and you'll be rewarded with durable, great-looking prints that customers notice.