
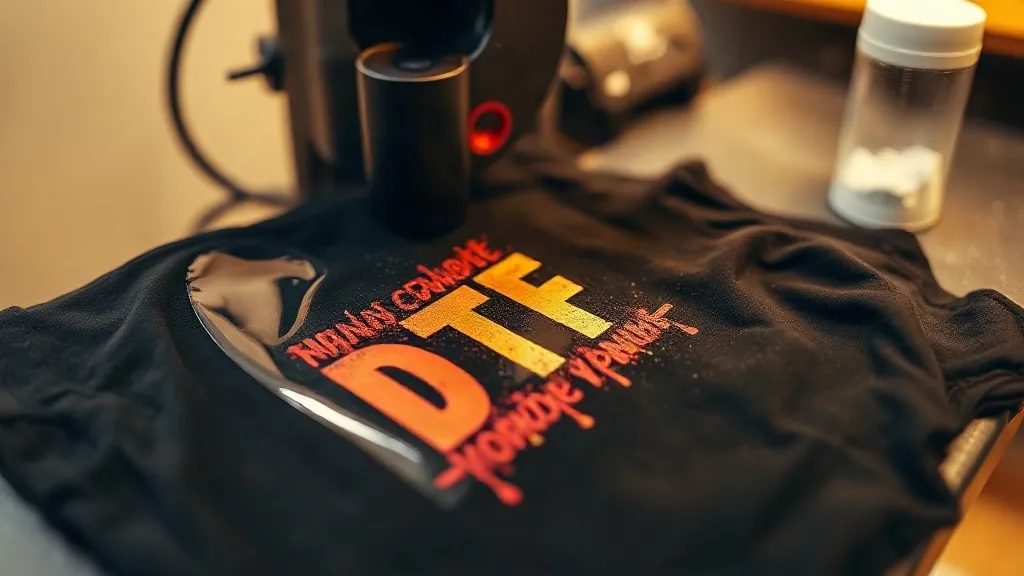
If you run a print shop or a small apparel brand, you have probably asked yourself: what does a dtf transfers actually cost me? The sticker price from a supplier is only part of the story. Film, powder, ink, press time, and labor all add up, and small inefficiencies can quietly eat your margin. This article breaks down the real cost per print and shows where you can save without cutting corners on quality.
The Building Blocks of DTF Transfer Cost
Every dtf print starts with a digital file and ends with a pressed garment, and each step has a cost. Understanding these components helps you price jobs accurately and spot waste.
Film and Powder: The Consumables You Can't Ignore
PET film is the canvas for your design, and thermoplastic polyurethane (TPU) powder is what makes the transfer adhere. Film prices vary by thickness and supplier, but a roll of quality film typically costs between $0.30 and $0.60 per linear foot. Powder runs about $20 to $30 per kilogram, and a kilogram can cover roughly 100 to 150 square feet of printed area, depending on coverage. The key is to match film and powder to your typical job size. Buying in bulk lowers unit cost, but only if you have the storage and turnover to avoid dead stock.
Ink: The Variable You Control
DTF inks are pigmented and formulated for heat transfer. Ink cost per print depends on your printer, the ink limit settings, and the design's color coverage. A full-color photographic print uses far more ink than a simple two-color logo. On average, ink accounts for 15 to 25 percent of the consumable cost. Using a RIP software with ink-saving profiles can reduce ink usage by up to 20 percent without visible quality loss, especially on dark garments where a white underbase is required.
Press Time and Labor: The Hidden Cost Drivers
Press time is often overlooked. Each transfer requires pressing at 300°F to 320°F for 10 to 15 seconds, plus cooling and peeling. If you are pressing one shirt at a time, labor can easily exceed material costs. For a small shop, a single-color logo on a t-shirt might take 2 minutes of press time, while a full-color photo print could take 3 to 4 minutes including powder application and curing. Multiply that by an hourly wage and you see why efficiency matters.
Calculating Your True Cost per Transfer
Let's run a realistic example. Suppose you print a 10-inch by 12-inch full-color design on a dark t-shirt. Here's a breakdown:
- Film: 1.2 linear feet at $0.40 per foot = $0.48
- Ink: approximately $0.60 (based on 20% coverage and ink cost of $0.05 per square inch)
- Powder: about 0.8 ounces at $0.03 per ounce = $0.024
- Press time and labor: 3 minutes at $18 per hour = $0.90
- Overhead (printer depreciation, electricity, rent): roughly $0.30
Total material and labor cost: about $2.30 per print. If you sell the printed shirt for $25, your gross margin is healthy, but if you price the transfer alone at $3, you are barely covering costs. This is why many shops set a minimum order or bundle transfers with garment sales.
Where Hidden Savings Live
You don't need to switch suppliers to improve your bottom line. Small changes in workflow often yield the biggest savings.
1. Optimize Your Nesting and Layout
Film waste is a silent profit killer. If you print one design per sheet without considering the roll width, you are throwing away inches of film on every job. Use nesting software or manually arrange multiple designs on a single sheet to maximize yield. For example, a 13-inch wide roll can fit three 4-inch wide designs side by side, reducing film cost per print by up to 30 percent.
2. Choose the Right Powder and Application Method
Not all powders are equal. Fine powder adheres better and requires less material for a smooth finish. Applying powder with a shaker bottle or automatic powder applicator can reduce overspray and waste. Also, consider using a powder with a lower melting point to reduce press time and energy consumption.
3. Calibrate Your Press and Use Temperature Guns
An inaccurate press can cost you in reprints and wasted materials. Invest in a temperature gun to verify platen temperature, and check pressure with a pressure gauge. A well-calibrated press ensures consistent transfers the first time, reducing the need for do-overs.
4. Batch Similar Jobs
Switching between light and dark garments, or between different powder types, adds setup time. Group jobs by garment color and design complexity to streamline production. For instance, print all white underbase designs together, then switch to color prints.
5. Consider Outsourcing for Low-Volume or Complex Jobs
If you only need a few transfers or your design is extremely detailed, outsourcing to a specialized DTF printer can be more cost-effective than doing it in-house. Many providers offer competitive pricing with fast turnaround, and you avoid the overhead of maintaining equipment and inventory. If you are searching for dtf transfers near me, compare local providers on quality, turnaround, and minimum order requirements.
Quality vs. Cost: Finding the Balance
Cutting costs should never come at the expense of quality. A transfer that cracks after a few washes will cost you more in returns and reputation than you saved on materials. Always test new film, powder, and ink combinations on sample garments before committing to a large order. Pay attention to stretch and recovery, especially on performance fabrics. And remember that proper curing and pressing are just as important as the consumables themselves.
Frequently Asked Questions
How much does a DTF transfer cost to make?
The cost to produce a DTF transfer in-house typically ranges from $1.50 to $3.00 for a full-color design, depending on size, ink coverage, and labor. Outsourcing may cost $3 to $6 per transfer for small quantities, but prices drop with volume.
Can I reduce DTF transfer costs by using cheaper film?
Cheaper film may save a few cents per print, but it often leads to more defects, such as curling or poor powder adhesion. In the long run, quality film reduces waste and reprints, making it more cost-effective.
What is the most cost-effective way to apply DTF powder?
Using a powder shaker with a fine mesh screen and applying a thin, even layer is the most efficient method. Automatic powder applicators are available for higher volumes, but for small shops, a manual shaker with practice can achieve minimal waste.
How does garment color affect DTF transfer cost?
Dark garments require a white underbase, which uses more ink and powder, increasing cost by 20 to 30 percent compared to light garments. However, DTF transfers eliminate the need for separate white toner or vinyl, simplifying production.
Is it cheaper to outsource DTF transfers or do them in-house?
For low volumes (under 50 transfers per month), outsourcing is often cheaper because you avoid equipment costs and maintenance. For higher volumes, in-house production becomes more economical, especially if you already have a DTF printer.
Understanding the true cost of dtf transfers empowers you to price confidently and find savings that don't compromise quality. Whether you print in-house or outsource, focus on the variables you can control: film layout, powder application, press calibration, and job batching. Small improvements compound quickly.