
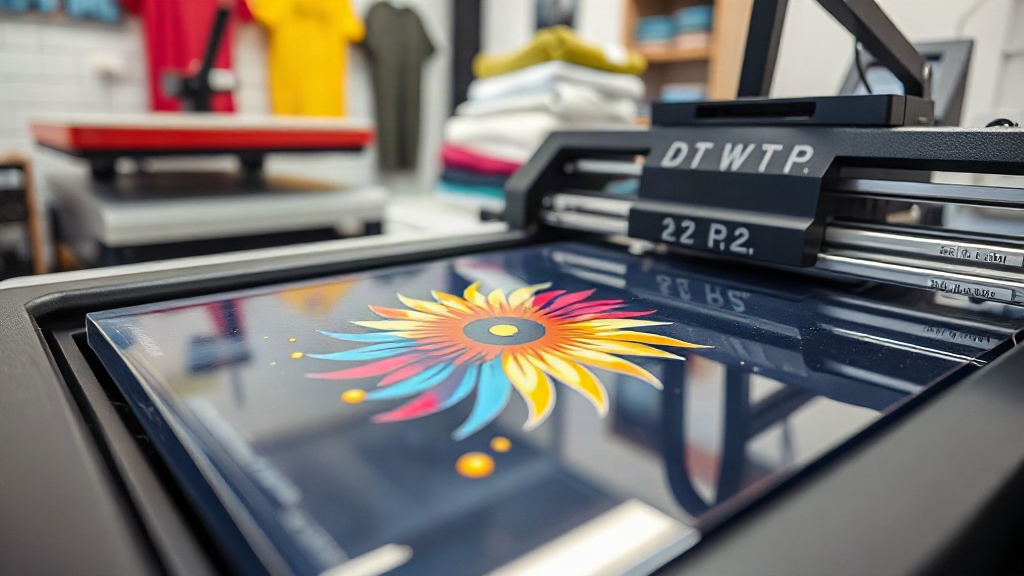
When you first hear about DTF printing, it might sound like just another industry acronym. But for anyone in custom apparel, from small business owners to hobbyists, DTF (Direct to Film) has become a game-changer. Unlike methods that require special papers or pre-treated fabrics, DTF printing offers a versatile, durable way to transfer vibrant designs onto almost any fabric. In this guide, we'll walk through the entire process, from creating your design to pressing it onto a shirt, and share practical tips I've learned from years of working with this technology.
What Exactly Is DTF Printing?
DTF printing stands for Direct to Film. It's a digital printing method where your design is printed onto a special PET film, coated with a hot-melt adhesive powder, and then transferred to the fabric using a heat press. The key difference from DTG (Direct to Garment) is that you're not printing directly onto the shirt; instead, you're creating a transfer that can be applied later. This opens up possibilities for printing on fabrics that would otherwise be difficult, like polyester, nylon, and even leather. The process also eliminates the need for weeding like in vinyl cutting, making it faster for complex designs.
How Does the DTF Process Work?
Understanding the step-by-step workflow is essential to getting consistent results. Here's what happens from start to finish.
Step 1: Design Preparation
First, you'll need a design. It can be anything from a simple logo to a full-color photograph. The design should be prepared in a graphics program like Photoshop or Illustrator, with transparent backgrounds if needed. Since DTF printers use CMYK plus white ink, you don't need to worry about color separation like in screen printing. Just make sure your design is high resolution (300 DPI is ideal) for crisp output.
Step 2: Printing onto Film
The design is printed onto a special DTF film. This film has a coating that receives the ink. The printer lays down a layer of white ink first (if the design has white areas or if printing on dark fabrics), followed by the color inks. The white ink acts as a base so colors pop on dark garments. After printing, the film is dusted with a hot-melt adhesive powder, which is then cured using a heat source (like a heat gun or oven). This powder becomes the glue that bonds the ink to the fabric.
Step 3: Transferring to Fabric
Once the film is prepared, you can transfer it to your garment. Set your heat press to the recommended temperature (usually around 300-325°F) and pressure. Place the film on the fabric with the printed side up, cover with a protective sheet, and press for 10-15 seconds. After pressing, let it cool completely before peeling off the film. For a softer feel, you can peel while hot, but cold peel often gives better adhesion. That's it, your custom apparel is ready!
Why Choose DTF Printing?
There are several reasons why DTF printing has gained popularity among crafters and businesses alike.
- Versatility: Works on cotton, polyester, blends, and even treated leather or canvas.
- No pre-treatment: Unlike DTG, you don't need to pre-treat the fabric, saving time and money.
- Durability: When applied correctly, DTF transfers withstand dozens of washes without fading or cracking.
- Fine detail: It can reproduce intricate gradients and fine lines that other methods struggle with.
- Cost-effective for short runs: No setup fees or minimums, making it ideal for small batches or one-offs.
Common Challenges and How to Overcome Them
Like any printing method, DTF has its quirks. Here are some issues you might encounter and how to fix them.
Adhesion Problems
If your transfer peels off after washing, it's often due to insufficient pressure, incorrect temperature, or not enough powder. Make sure your heat press is calibrated and apply even pressure. Also, ensure the powder is fully cured; undercured powder won't bond properly.
Color Fading
Fading can happen if the transfer is over-stretched or if the garment is washed in hot water. Always wash inside out in cold water and avoid harsh detergents. Using a quality DTF film and ink also plays a big role in longevity.
Film Jamming
Printers can sometimes jam if the film isn't fed straight or if the rollers are dirty. Keep your printer clean and use high-quality film to minimize issues. If you're new to DTF, practice with a few test prints before tackling a big order.
Applications of DTF Printing
Beyond t-shirts, DTF printing can be used for:
- Hoodies and sweatshirts
- Tote bags
- Denim jackets
- Sportswear (especially polyester)
- Promotional items like caps and aprons
The possibilities are vast, limited only by your creativity.
Frequently Asked Questions
What fabrics can I use with DTF printing?
DTF printing works on a wide range of fabrics, including cotton, polyester, cotton-poly blends, nylon, and leather. It's particularly useful for polyester because it doesn't require the fabric to be pre-treated, and the colors remain vibrant.
How long does a DTF transfer last?
With proper application and care, a DTF transfer can last 50+ washes. To maximize longevity, wash the garment inside out in cold water, avoid bleach, and tumble dry on low or hang dry.
Can I use DTF on dark shirts?
Absolutely. DTF printing uses a white ink base, so it's perfect for dark fabrics. The white layer ensures that colors remain bright and opaque.
Do I need a special printer for DTF?
Yes, you need a DTF printer that uses DTF inks and can handle film. Some people convert regular inkjet printers, but it's better to use a dedicated DTF printer for consistent results.
Is DTF printing cost-effective for small businesses?
Yes, especially for short runs. There are no minimums or setup fees, and you can print one-off designs without wasting material. The cost per print is reasonable, making it a great option for startups and side hustles.