
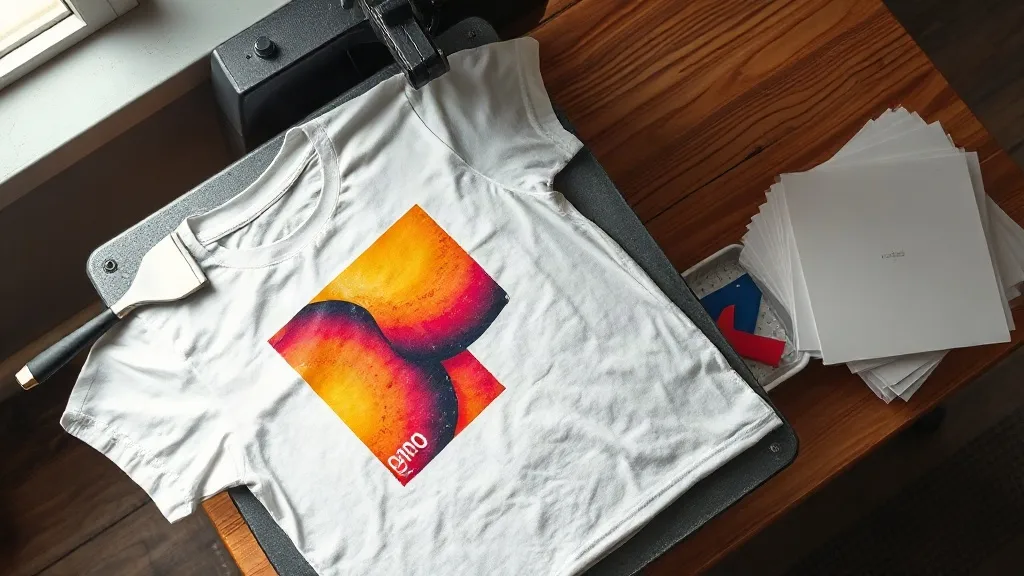
Most people who try dtf transfers for the first time run into the same wall. The design looks perfect on screen, the film comes off the printer looking sharp, and then the finished shirt has a dull haze, a cracked edge, or a patch that lifts after two washes. The transfer itself usually isn't the problem. The gap is almost always in the details around it: how the artwork was built, what the powder did during curing, how the press was set, and when the film was pulled.
This guide walks through those details in the order they actually happen in a shop, so you can trace a bad result back to the step that caused it instead of guessing.
What a DTF transfer actually is
A DTF print is a mirror-image design printed onto a special film with water-based pigment inks, then dusted with a thermoplastic adhesive powder while the ink is still wet. That powder melts into the ink during a curing step and becomes the glue that bonds the design to fabric. You end up with a flexible, stretchy transfer that can go onto cotton, polyester, blends, canvas, and even some nylon, which is the main reason the method has spread so fast through small print shops and hobby setups.
Because the adhesive is doing the bonding rather than the fabric absorbing ink, DTF doesn't care much about fiber content. That flexibility is what separates it from vinyl, which struggles on mesh and stretch fabrics, and from screen printing, which needs a setup cost that only makes sense at volume. If you want to see the range of films and finishes available, the dtf transfers collection is a reasonable place to compare options before you commit to a supplier.
Start with artwork that survives the process
A DTF press flattens and stretches the ink, and washing flexes it thousands of times. Artwork built for a screen doesn't always survive that. A few habits make a real difference:
- Keep fine lines at least 1 mm thick. Hairlines that look elegant on a monitor will break apart on a stretchy tee.
- Avoid large solid blocks of black or heavy dark color. They hold more ink, cure unevenly, and feel stiff on the shirt.
- Design at final print size, not at 72 dpi and scaled up later. Raster art should be 300 dpi at the exact dimensions you'll press.
- Knock out backgrounds properly. A white halo around a design on a dark shirt is almost always leftover background pixels.
One more point that surprises people: gradients and photographic detail actually print well with dtf, better than with vinyl by a wide margin. So don't flatten your artwork into hard shapes out of habit. Test a soft gradient once and you'll see the difference.
Getting the powder and curing step right
This is where most quality problems are born. After printing, the film is wet and the powder needs to stick to the ink and nowhere else. Shake the powder evenly, then tilt the film and tap off the excess. If you leave a thick layer, the finished print will feel rubbery and the edges will look crusty.
Curing is the second half. The powder has to melt fully, and the ink has to dry without scorching. A heat press with the film face up, protected by a sheet, works well for many shops. Others prefer a dedicated curing oven because it gives even heat across the whole sheet. Whichever route you take, watch for two signs of trouble: a grainy, sandy texture means under-curing, and a glossy, plasticky sheen usually means you went too hot.
A quick cure check
Let a test piece cool completely, then bend it sharply. The powder layer should flex without flaking or turning cloudy. If it cracks along the fold, raise the temperature slightly or add a few seconds and test again.
Press settings that actually hold up
Press temperature, pressure, and time interact, so changing one usually means adjusting the others. A workable starting point for most garments is around 150 to 160 degrees Celsius for 10 to 15 seconds at medium pressure, but treat that as a starting line, not a rule. Thick hoodies need more time than a thin tri-blend tee, and a press with worn silicone pads will need more pressure to compensate.
Pressure is the setting people neglect most. Too little and the adhesive never fully contacts the fibers, so corners lift. Too much and the design spreads slightly, edges thin out, and the hand feel gets stiff. If you can see the fabric weave pressed flat into the transfer, you're likely too heavy.
Peel timing matters more than you'd think
Most films today are cold or warm peel, and the manufacturer's label is worth following. Peeling hot when the film calls for cold can pull the adhesive away from the fabric before it has set, leaving a matte, weak patch. If you're unsure, press a scrap and try peeling at three points: immediately, after 10 seconds, and fully cool. The one that comes away cleanly with crisp edges is your answer for that film.
Finding a supplier when you need one fast
Deadlines have a way of exposing weak supply chains. If you're searching for dtf transfers near me because a job is due Friday, check three things before ordering: whether the films are printed in-house or resold, what the stated turnaround is for small orders, and whether you can request a single test sheet first. A supplier who will send one sample is usually a supplier who stands behind the output.
Also ask about storage. Films keep well in a cool, dry place away from direct sun, but humidity softens the powder layer and heat can make sheets stick together. If you buy in bulk, store them flat and sealed.
Wash durability: what to tell your customers
A properly pressed DTF print will outlast most expectations, but the care instructions you hand over shape how long it lasts in practice. Wash inside out, cold water, no fabric softener, and tumble low or hang dry. Fabric softener is the quiet killer because it coats the fibers and gradually weakens the adhesive bond. Ironing directly on the print is another common mistake, so mention pressing from the reverse side with a cloth.
If a customer reports peeling after a few washes, ask where the peel started. Edge lifting points to insufficient pressure or uneven cooling. Cracking across the middle of a design usually means the cure was incomplete or the ink layer was too heavy for the fabric.
Frequently asked questions
Can DTF transfers go on 100 percent polyester?
Yes, and they generally do well on it. Polyester doesn't absorb water-based ink the way cotton does, but DTF bonds through the adhesive powder rather than fiber absorption, so it works. Use slightly lower press heat on thin polyester to avoid shine or scorching, and always test on a scrap first.
How long do DTF transfers last on a shirt?
With a correct press and normal washing, most prints hold up for the life of the garment. Longevity depends far more on cure quality and care routine than on the film brand. Cold washing and skipping fabric softener add noticeable life.
Do I need a special printer for DTF?
You need a printer that uses DTF pigment inks and a film path that handles the sheets without smearing. Many shops convert a suitable inkjet or buy a dedicated DTF printer. Standard dye-based desktop inks won't produce a wash-durable result.
Why does my transfer look dull after pressing?
Dullness usually comes from under-curing, too little pressure, or pressing before the film has cooled when a cold peel is specified. Check the powder layer first, then pressure, then peel timing in that order.
Is DTF cheaper than screen printing?
For small runs and one-off designs, almost always. Screen printing wins on cost per piece once you're past a few dozen identical shirts, because the setup work is amortized. The crossover point depends on your design and labor, so run the numbers for your own volume.