
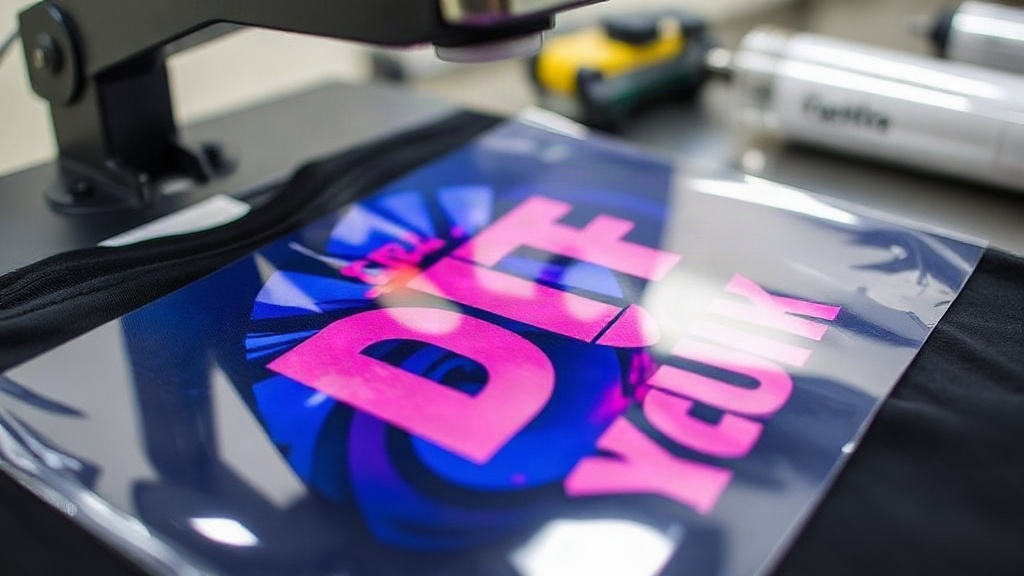
If you've been exploring custom apparel printing, you've likely encountered DTF Transfers. This innovative technology is rapidly gaining popularity for its versatility and vibrant results. Unlike traditional methods that require specific fabrics or extensive setup, DTF transfers offer a streamlined approach to decorating garments with intricate designs. In this guide, I'll walk you through everything you need to know to get started, from the basics of the process to expert tips for flawless application.
What Are DTF Transfers?
DTF stands for Direct to Film. It's a printing method where your design is printed onto a special PET film using water-based inks, then coated with a thermoplastic powder while the ink is still wet. The powder adheres to the ink, and after curing, the transfer is ready to be heat-pressed onto a garment. The magic lies in the adhesive powder: when heated, it melts and bonds the ink to the fabric, creating a durable, stretchable print.
One of the biggest advantages of DTF Transfers is that they can be applied to almost any fabric, including cotton, polyester, blends, and even nylon. This universality makes them a favorite among small business owners and hobbyists who want to offer a wide range of products without investing in multiple printing systems.
Why Choose DTF Transfers Over Other Methods?
You might be wondering how DTF compares to more established techniques like screen printing or vinyl cutting. Here are a few reasons why DTF stands out:
- No color limitations: DTF can reproduce full-color images with gradients, fine details, and photographic quality, all in a single transfer.
- No weeding required: Unlike vinyl, there's no tedious cutting and weeding of excess material. You simply print, powder, cure, and press.
- Works on dark and light fabrics: A white ink base layer ensures colors pop on dark garments without the need for separate underbases.
- Durability: When applied correctly, DTF prints resist cracking, peeling, and fading even after multiple washes.
- Cost-effective for short runs: There's no minimum order quantity, making it ideal for one-off custom items or small batches.
The DTF Transfer Process Step by Step
Understanding the workflow helps you appreciate the art and science behind DTF. Here's a breakdown of the key stages:
1. Design Preparation
Start with a high-resolution image. DTF printers can handle intricate details, but a low-quality source file will result in a poor print. Use design software to ensure your artwork is in CMYK color mode and has a transparent background if needed. Remember that the final print will have a white underbase, so light colors on dark fabrics will appear opaque.
2. Printing
The design is printed onto a sheet of PET film using specialized DTF inks. The printer lays down a layer of white ink first (for opacity), followed by the color layers. Some printers also print a clear adhesive layer on top. The film is then dusted with hot-melt adhesive powder, which sticks to the wet ink. Excess powder is shaken off, and the film is cured in an oven or with a heat gun until the powder melts and forms a smooth, glossy layer.
3. Transfer Application
Once cured, the transfer is ready to be applied. You'll need a heat press. Set the temperature to around 300-320°F (150-160°C) and pressure to medium-high. Place the transfer on the garment, cover it with a protective sheet (like parchment paper or a Teflon sheet), and press for 10-15 seconds. Then, peel the film off while it's still hot (hot peel) or after it cools (cold peel), depending on the film type. Finally, give it a second press for 5-10 seconds to ensure the adhesive fully bonds.
4. Post-Pressing and Care
After pressing, allow the garment to cool completely before handling. For best longevity, wash the garment inside out in cold water and avoid using fabric softener or bleach. Tumble dry on low or hang dry. With proper care, DTF prints can last as long as the garment itself.
Common Challenges and How to Overcome Them
Even with a straightforward process, beginners often face a few hurdles. Here are some common issues and their solutions:
- Insufficient adhesion: This usually means the powder didn't melt fully or the press temperature was too low. Increase the temperature or press time, and ensure even pressure.
- Cracking or peeling: Often caused by under-curing the powder or over-stretching the fabric during pressing. Make sure the powder is fully melted and avoid stretching the garment when applying.
- Dull colors: If colors look faded, you might be pressing at too high a temperature, which can scorch the ink. Check your heat press calibration.
- Powder clumping: Too much powder or high humidity can cause clumps. Store powder in a dry place and use a fine mesh shaker for even distribution.
DTF Transfers vs. Other Printing Methods
To help you decide if DTF is right for your projects, let's compare it to two popular alternatives: screen printing and heat transfer vinyl (HTV).
DTF vs. Screen Printing
Screen printing is cost-effective for large orders but requires separate screens for each color, making small runs expensive. DTF excels at detailed, multi-color designs without setup costs, but the per-unit cost is higher for bulk orders. If you need photographic quality on a few shirts, DTF wins.
DTF vs. HTV
HTV is great for simple, single-color designs and is easy to weed. However, it can't handle complex gradients or fine details, and layering multiple colors is time-consuming. DTF handles all that in one transfer, and it's more durable on stretchy fabrics.
Tips for Flawless DTF Transfers
After countless trials, I've picked up a few tricks that make a big difference:
- Pre-press the garment: This removes moisture and wrinkles, ensuring a smooth surface for the transfer.
- Use a lint roller: Any lint or dust on the fabric can prevent proper adhesion.
- Test your settings: Every heat press is different. Start with the recommended settings and adjust as needed.
- Store transfers properly: Keep unused transfers in a cool, dry place away from direct sunlight to prevent the adhesive from activating prematurely.
- Practice on scrap fabric: Before pressing onto a final garment, do a test run to dial in your technique.
Frequently Asked Questions
Can I use DTF transfers on 100% cotton shirts?
Absolutely. DTF transfers work beautifully on cotton, as well as polyester, blends, and even treated nylon. The adhesive bonds well with natural and synthetic fibers alike.
How long do DTF transfers last?
With proper application and care, DTF prints can last for years without significant fading, cracking, or peeling. Following the washing instructions is key to longevity.
Do I need a special printer for DTF?
Yes, DTF requires a dedicated DTF printer that uses water-based DTF inks and can handle the film. However, you can also buy pre-made transfers from suppliers if you don't want to invest in a printer.
What's the difference between hot peel and cold peel DTF film?
Hot peel film allows you to remove the carrier sheet immediately after pressing while it's still hot, which is faster. Cold peel requires you to wait until the transfer cools completely before peeling. The choice depends on the film manufacturer's recommendation.
Can I layer DTF transfers?
Yes, you can layer DTF transfers, but it's best to press each layer separately and ensure the previous layer is cool before adding the next. This prevents smudging and ensures proper adhesion.
DTF transfers have opened up a world of possibilities for custom apparel. Whether you're a hobbyist or a business owner, mastering this technique can set your creations apart. With the right tools and a bit of practice, you'll be producing vibrant, durable prints that impress. So why not give it a try? Your imagination is the only limit.